Most of the USA is now closed for business. For many of us, we have lost access to martial training and firing ranges. This doesn’t mean we should be putting our protective training on hold, though. Here are a few ways to adapt or develop new training methods.
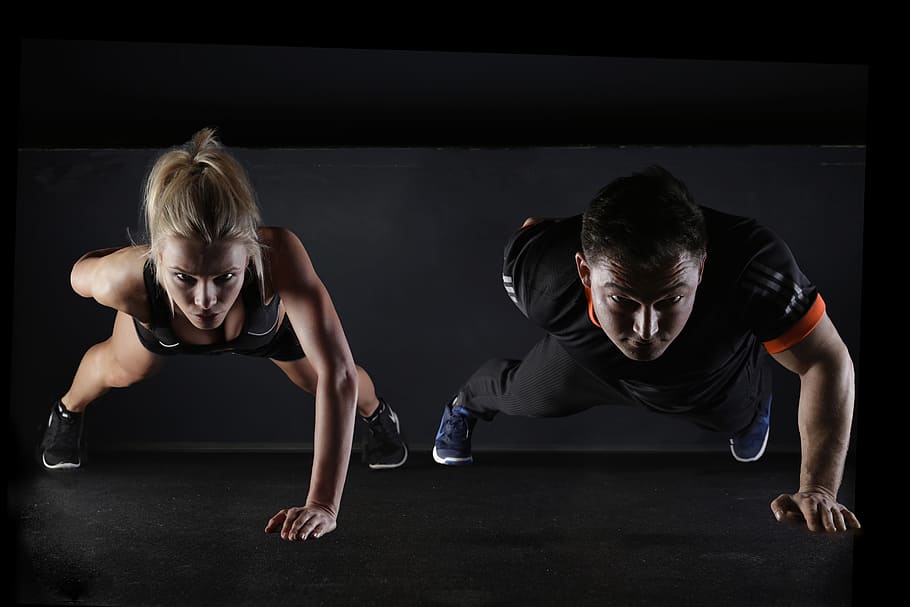
Strength and cardio training
There are honestly thousands of books, videos, and other sources out there for this training. For protection, a definite balance between strength training and cardio is needed. Look for strength-increase and flexibility-increase videos, not just “bulking up” exercises. The same with cardio.
If you don’t happen to have any equipment at home, add “no equipment” to your google searches. There are still many exercises that can be done using body weight resistance, as well as stretches!
Practice the basics you DO know
There are a number of martial arts apps out there that show applications you can do from your screen. We advise against these because there is no instruction or critique to break you from a bad habit or incorrect movement. Without this, imperfections (vulnerabilities) can become ingrained and need to be relearned.
But, if you happened to have trained well before this self-distancing, AND if you know some moves well enough to have not been significantly corrected on, continue practicing them!
I can honestly say that when troubleshooting trainee technique at the dojo, most of the trainee issues stemmed from improper positioning caused by poor footwork. If your training includes footwork patterns or routines, do them over and over, taking care you are doing them well.
Punching bags and artificial targets
Percussion training is kinda hard to get wrong. With some basic combinations under your belt, train them, and train them hard. Work them into a cardiovascular workout. If you have the means, a torso target allows you to work on target selection far better than a punching bag, but be prepared to load it up with sand (they leak a bit, don’t use water) to make it stable.
Physically striking is far superior to “punch into the air” martial movement. there is no substitute for actual striking to ensure your fists or chopping hand strikes are resilient.
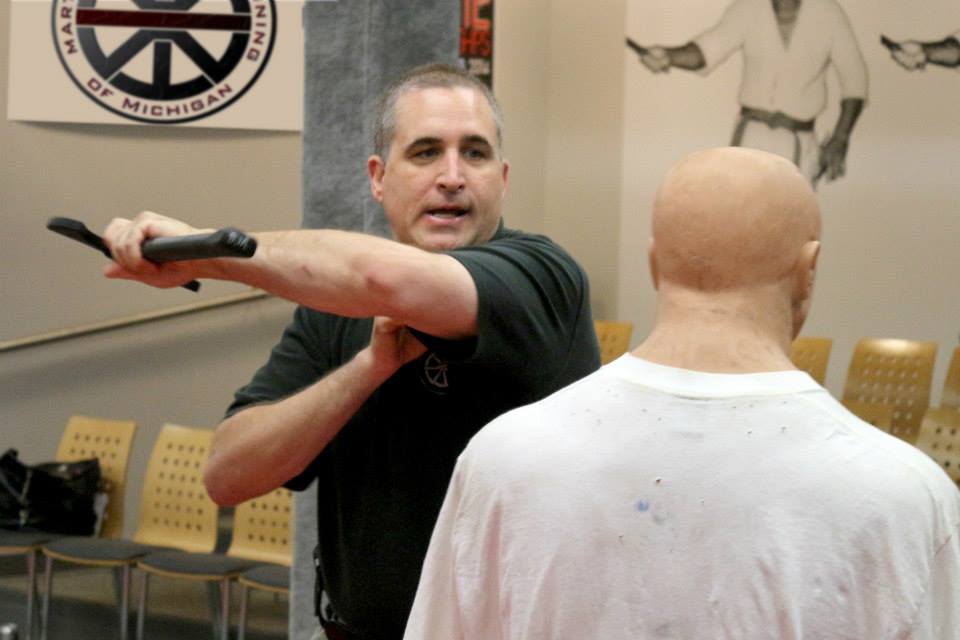
Another great tool are the Cold Steel line of melee training weapons and the Rings Blue Gun line of firearm training weapons. These can allow for great weapon manipulation and movement training. If your martial skills involve breakfalls and rollouts, practice going into prone, supine, and urban prone. This will not only improve your ability to obtain cover/concealment, but the large movements will improve cardio.
Dry fire dry fire dry fire
When practicing dry fire, set up a place that you know is safe, and keep it that way. The rules of gun safety are not suspended while doing this; they are more important than ever.
Safety steps:
- Pick a dry-fire location in the home free from others, including pets or important valuable. Establish that this sectioned area is an ammunition-free zone.
- Ensure the area you will be dry ‘firing’ into is safe, and what is beyond it is safe and will trap a bullet if all else fails.
- Read your owners manual and confirm that firing on an empty chamber is not detrimental to your firearm. Most modern semiautomatic and revolver firearms are able to handle dry firing. 22LR pistols are a notable exception.
- In a separate area, remove all ammunition from your firearm. This includes the magazine and chamber or the cylinder for most modern pistols. If you have a training barrel for your firearm, install it here. Confirm the firearm is empty through sight and touch.
- Move to your dry fire location. Ensure it is free of obstructions and people.
- Reconfirm the firearm is empty through sight and touch.
- If for any reason you must pause this training and leave the area, perform all safety steps over to ensure the firearm and training area are in known states when resuming training.
Dry fire for sight alignment and trigger congtrol
A training program I took emphasized that most firearm issues can be resolved with sight alignment and trigger control. After spending a full 8 hours on these two factors alone, I am in complete agreement.
Fortunately, these two factors can be practiced without ammunition. When dry firing, you can work on maintaining sight alignment and picture while manipulating the trigger. These items are the very fundamentals of superior marksmanship, and it can be done for FREE.

- Perform all safety steps noted above.
- Practice dry firing by squeezing the trigger while maintaining sight alignment/picture on a target fastened to the wall.
- Pay special attention to any movement in sight alignment that trigger actuation provokes. Correct it. There is no rush here, and each trigger pull can take as long as needed to perfect.
- Repeat until your trigger actuation does not affect sight alignment/picture at all. (This can take years!)
Dry fire for draw and acquiring target
Once the fundamentals of sight alignment and trigger control are well understood, it’s time to bring the drawstroke into play. Using ALL the same safety steps shown above, AND all the sight alignment/picture and trigger control exercises, practice drawing from holster, presenting the firearm, and getting on target with a proper sight alignment and trigger actuation.
Remember the fundamentals of a good drawstroke:
- Using support hand, remove concealing garments from the holster area.
- Primary hand acquire a solid grip on the firearm with thumb-forefinger webbing lodged firmly in the tang of the handgun and fingers in a solid grip. Trigger finger must be extended.
- Draw the firearm deliberately to the pectoral index point. Support hand comes to the chest.
- Rotate firearm to the front. Shooter may need to engage from this position and firing from this position should be practiced for close quarter engagements.
- Extend the firearm forward with a “punching out” movement. Support hand should naturally acquire a proper grip on the firearm during this extension. During extension, begin to acquire sight alignment and sight picture. Shooter should be able to put rounds on target during the extension action for close quarter engagement training.
- Once at extension, finalize sight alignment and sight picture.
- Actuate trigger during the drill at the appropriate time determined for your practice.
Dry fire with moving and shooting
Using ALL the above steps, and adding in objects, navigate to cover/concealment, move around obstacles to get on cover. Add partial cover to your target… the list is endless what you can do here, and it all builds in movement familiarity with the firearm.
By now it should be apparent that there is so much that can be done with dry fire. In fact, the only thing missing is recoil management and the assessment of shot placement.
Train the mind
Internet research costs little, and finding good sources doesn’t take that long. Train the mind with good information. Justifiable use of force, the laws of protection and firearm ownership, the anatomy of violence, and so much more. Go for depth, not breadth. Find a subject and truly deep-dive it. Surface smatterings of many topics are easily obtained. Focused knowledge in one thing leads to much more understanding.
Training beyond stay-at-home
Of course, ALL of this must be reinforced with this most paramount of paradigms: You are NOT PLAYING. This isn’t a tactical LARPing exercise, Mr. Wick. You MUST do all the above training as if it is a live-fire exercise, with the exact same mindset for training and consequence. Do not train in poor muzzle discipline. Do NOT train in a bad drawstroke. If needed, record your training and play it back and scrutinize as if it were someone else’s Facebook post that the world will nitpick into oblivion. You could even send it to your instructors for their review, or a close group of training friends operating in an ego-free way.
Most of us have been ‘gifted’ with extra time on our hands. Whether it be working from home and no commute time to actually being furloughed. These times are hard, and they will get harder before it’s said and done. In desperate times, the worst in some people comes out, and the best in others comes out. It’s up to us to ensure our best is greater than their worst. Train hard, train focused.